

With so many more employees working from their home instead of the office, some of us may forget how to reinstall a USB printer. Fortunately, installing a printer in Windows is a painless task with a quick setup. You’ll be able to start printing immediately after you designate a local printer.
You can also install a wireless printer or add a printer connected to another laptop or PC on your network. We’ll cover these managed computer services below.
What You Will Learn In This Article:
Add a Local Printer
1. Connect the printer to your computer using the USB cable and turn it on.
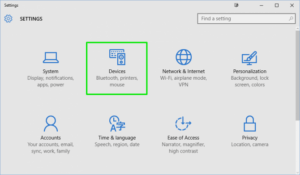
2. Open the Settings app from the Start menu.

3. Click Devices.
4. Click Add a printer or scanner.
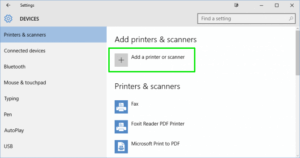
5. If Windows detects your printer, click on the printer’s name and follow the on-screen instructions to finish the installation. And you’re done.
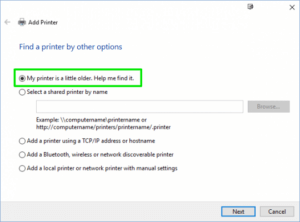
If Windows doesn’t find your connected printer, click “The printer that I want isn’t listed.”
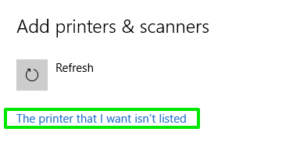
Then let the Windows troubleshooting guide help you find your printer. It will search for available printers and allow you to download the drivers for them.
If that doesn’t work, head to your printer manufacturer’s website and download the drivers and installation tools for your printer. You can also contact a managed computer services provider for further assistance.
Add a Wireless Printer
The steps to install a wireless printer may vary by manufacturer. In general, however, modern printers today will detect your network and automate the installation.
1. Use the printer’s LCD panel to enter the wireless setup. For example, on an Epson printer, this is under Setup > Wireless LAN Settings.
2. Select your Wi-Fi network. You’ll need to know your home network’s SSID, which you can find by hovering your mouse over the Wi-Fi icon in the taskbar.
3. Enter your network password.
You might need to temporarily connect your printer to your computer via USB to install the software in some cases. But otherwise, that’s it. You should find your printer automatically added in the Printers & scanners section under Settings > Devices.
If you run into trouble, make sure your printer is relatively close to your computer and not too far from your wireless router. If your printer has an Ethernet jack, you could connect it directly to your router and manage it with a browser interface.
Add a Shared Printer
Windows has a home networking feature called HomeGroup that automatically shares printers and specific files with other computers on your home network. Here we’ll set up a HomeGroup (if you don’t already have one set up) and connect to the shared printer.
Set Up a HomeGroup
Skip this step if your home network already has a HomeGroup set up. If you’re not sure, follow steps 1 and 2 below to check, and soon enough, you’ll see how to reinstall a USB printer.
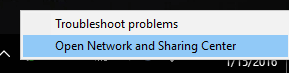
1. Right-click on the wireless icon in the taskbar and select “Open Network and Sharing Center.”
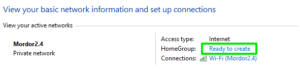
2. Click “Ready to create” next to HomeGroup. If a HomeGroup already exists on your network, it will say “Joined.”
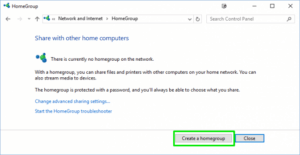
3. Click the Create a homegroup button.
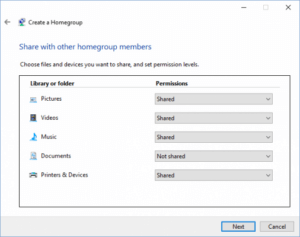
4. Click Next.
5. Select what you want to be shared. Printers & Devices share by default.
6. Write down the HomeGroup password Windows creates for you. You’ll need it for each computer you want to join the HomeGroup.
7. Click Finish.
Connect to a Shared Printer on the HomeGroup
Now head to the other computer(s) on your network to join the HomeGroup.
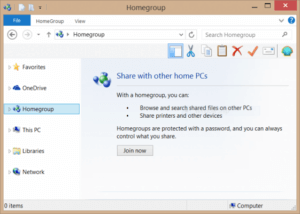
1. Click Homegroup, and then the Join now button in Windows Explorer.
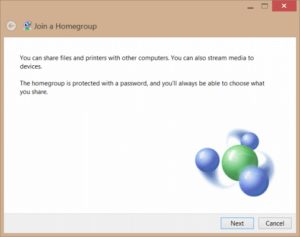
2. Click Next.
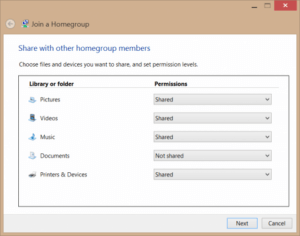
3. Verify what you want to share and click Next.
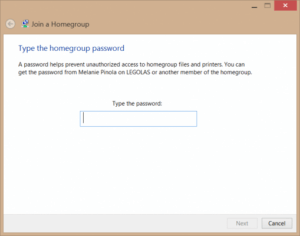
4. Enter the password and click Next.
5.Click Finish.
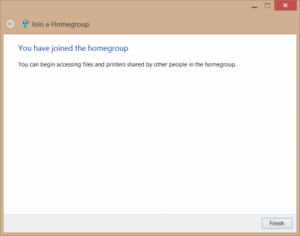
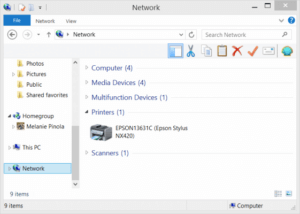
6. Click Network in Windows Explorer, and you should see the shared printer installed.
Stay Socially Connected
Connect with Cinch I.T. on Facebook, Twitter, LinkedIn, and Instagram with the hashtag #cinchit.
About Cinch I.T.
Since 2004, Cinch I.T. has been providing customer-focused I.T. services for businesses of all sizes. When you need help with how to reinstall a USB printer, our computer support offers the fastest and friendliest service in the industry. Cinch is one of the nation’s fastest-growing I.T. support franchises with 7 locations and counting. To learn more about our managed computer services, visit cinchit.com. For more information about I.T. franchise opportunities, visit cinchfranchise.com.
Click here to find your nearest local Cinch I.T. office:


